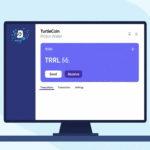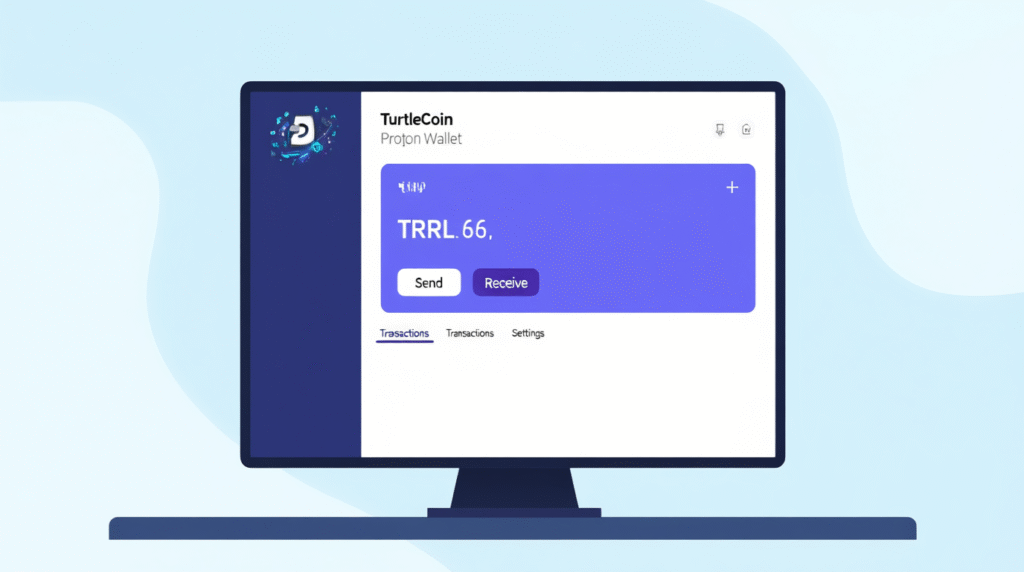
TurtleCoin Proton Wallet is a cross-platform graphical wallet for the TRTL coin, implemented on Electron and React. The interface is inspired by the Electrum client — the application is focused on simplicity: quick access to main functions, local wallet files, and support for modern server solutions from the TurtleCoin community.
Where to Download
Official installers are published in the project releases on GitHub — in the Assets section of the latest release, installers for Windows (.exe), macOS (.dmg), and Linux (.AppImage) are available. It’s recommended to download only from the official releases page.
Which Files to Take for Your OS
- Windows — file with .exe extension.
- macOS — .dmg file.
- Linux — .AppImage (portable image).
These files are in the “Assets” list of the release.
Installation on Windows (Briefly)
- Run the downloaded .exe. Windows may show a warning that the application is from an unverified publisher — click “More details”, then “Run anyway” to continue installation.
- Follow the installer instructions and complete the installation. After this, Proton Wallet can be launched through the desktop shortcut or through the Start menu.
Why Windows Warns and Is It Safe?
The wallet code is open source (MIT license) and available for verification — therefore many users consider the release safe, but the Windows system requires a developer signature to eliminate such warnings, and obtaining a signing key is a paid procedure.
Installation on macOS (Briefly)
- Open the downloaded .dmg and drag the application to the “Applications” folder.
- On first launch, macOS may block the program (message about unreliable developer). In “System Preferences → Security & Privacy” a “Open Anyway” button will appear — click it to allow launch. When updating the application, this step may need to be repeated.
Installation on Linux (Briefly)
- Download the .AppImage.
- Make the file executable: either through GUI (properties → permissions → “Allow executing file as program”), or in terminal:
chmod +x proton-wallet*.AppImage - Can be launched by double-clicking the file; it’s recommended to place the AppImage in a separate folder (e.g., ~/Apps).
First Launch and Action Options
When starting Proton Wallet, it offers three main options: open an existing wallet, create a new one, or import from keys/seed. After creating or opening, the wallet is automatically remembered, and next time it can be opened with one click.
How to Create a New Wallet
- In the File menu select New (or Ctrl+N).
- Specify the folder and filename for storing the wallet — extension is not required.
- If desired, you can set a password later through Wallet → Password. After this, the wallet is ready to receive and send TRTL.
How to Open or Restore Wallet
Opening: File → Open (or Ctrl+O) → select the wallet file. Proton Wallet uses its own file format, incompatible with some old GUI wallets — if you have an old file, use key/seed import.
Restoration: File → Restore — restoration by private keys or by seed phrase (initial number) is available. Follow the prompts in the restoration dialog.
Security Tips
- Download installers only from the official release on GitHub.
- Store backup copies of the wallet file and seed/keys in several secure places (offline).
- If possible, set a password on the wallet file.
- If you doubt the authenticity of the build — check the sources on GitHub and ask the TurtleCoin community (e.g., on Discord).
Brief Summary
Proton Wallet is a simple and modern GUI wallet for TRTL, available on Windows, macOS, and Linux through official releases on GitHub. Installation is not difficult, but due to the absence of vendor app signatures (Windows/macOS), you’ll have to bypass warnings — while the project is open source, and this increases trust if you download official builds.