The topic of VPNs is very relevant today. I think there’s no point in describing here why they’re needed and what their uses are. Everyone will find their own use for one.
Like many people, I initially used free VPNs, then switched to paid ones. I was quite happy with paid VPNs. But unfortunately, they get blocked… That’s what happened to me with SurfShark… Yes, I know they have the ability to fix it so it works even after being blocked. But it was the blocking of SurfShark that prompted me to research how to create my own VPN.
I’ve identified two main advantages of having my own VPN:
- Security – because there is definitely nothing extra on my server, and my traffic will not be intercepted
- Blockings – my VPN will definitely not be blocked, at least because they don’t know about it
When I started researching this issue, the answer turned out to be complicated. You had to buy a VPS, then connect to that VPS via SSH through a terminal or console, and then there were a bunch of commands to enter to install the scripts. And you had to enter these commands every time. Complicated…
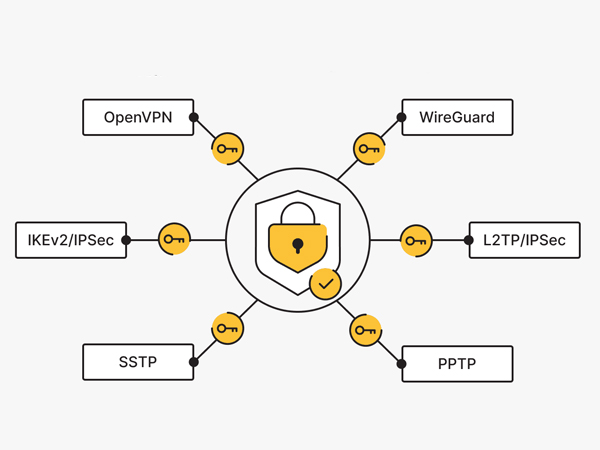
A little later, automatic WireGuard installers began to appear, followed by WireGuard GUI. WireGuard GUI is a ready-made script for the WireGuard* VPN protocol with a web interface.
* WireGuard is the newest VPN protocol, introduced in 2016. Its advantages include speed, performance, and new security standards.
Russian services like TimeWeb or Aeza are very convenient right now. You can order a virtual server for 100-300 rubles and automatically install WireGuard GUI on it, getting a working VPN in 5-10 minutes. They’re very good services, check them out. They accept Russian card payments.
But they have their downsides:
- These are Russian services , meaning the IP address they provide doesn’t work with all the services you need. For example, ChatGPT can sometimes be down. I’ve had issues with proxy services.
- These services are very popular, and at the time of writing, they had already run out of cheap VPS options. And the 300+ ruble option is, in my opinion, expensive for a VPN.
So I set out to find a foreign hosting provider. The criteria that were important to me when choosing a new provider
- Price – A VPS should be very cheap. The cheaper, the better. I’ve found a ton of European providers priced at 7-10 euros. That’s expensive, especially for a low-load system like a VPN.
- WireGuard GUI – To enable the host to automatically install this script, specifically with a web interface
- Good IP addresses – so that all services work without restrictions
- Stability – so that the connection doesn’t fall off
After much effort, I found a very interesting option that I want to share with you.
Evoxt.com – An Asian Alternative to VPN
Evoxt.com is, as I understand it, an Asian hosting provider. That’s why the cheapest plan is $3, not the 10 euros in Europe. Their IP addresses are also reliable and work with international services. In short, this service meets my criteria described above.
But as always, there are some downsides that I would like to point out right away:
- The traffic limit is 500GB per month. If you download a lot via VPN, this option won’t work. I tested it, and it’s less than 500GB per month, so it’s fine.
- Payments in Russia by card are unavailable . This is the case with all foreign services. Fortunately, they support cryptocurrency, as discussed below.
The service looks very Chinese, I wouldn’t risk launching any serious project with them, but for a VPN, I think it’s cheap and cheerful. Ideal.
Okay, I’ve gotten a bit poetic, let’s get to the actual instructions on how to create your own VPN.
Instructions – How to create your own VPN
1. Register

2. In your personal account, click + and select “Deploy a new server”

3. Select a Region. I used Germany. You can choose a different option.

4. Choose the cheapest plan. There’s no point in going more expensive for a VPN.

5. The most important step is to select Application -> WireGuard GUI
This step eliminates the need to write commands in the console.

7. Pay
Payment methods: Bitcoin, Tether TRC20 (USDT), PayPal, foreign cards.
Yes, since the service is foreign, payment with Russian cards is not possible… Such is life…
Be sure to use the promo code for a 5% discount – AFF457-WELCOME

8. Your access details will be emailed to you within 5-10 minutes. You can also view your access details in your personal account.

9. Next comes the configuration of WireGuard itself. Go to
http://<your_ip_from_mail>:51821
Enter the password from your email

10. From here, everything is extremely simple. For each device we want to connect to the VPN, we add a Client in this web interface. Yes, each device needs to be connected separately.

11. Download the WireGuard client to your phone or computer

12. If you have a phone, then add the configuration via QR code; if you have a computer, then via the .config file.
I won’t go into detail about the entire process of adding devices, as Evoxt itself comes with instructions with pictures.
Conclusion
That’s it, we’ve created our own VPN in just 10 minutes for less than $3 a month! Enjoy!
An interesting conclusion I came to is that it’s better to look for VPN hosting providers in Asia rather than Europe because the prices are cheaper there.
If you have any interesting ideas for deploying your own VPNs, please share them in the comments. I’d be very interested to hear about them.
Have safe connections!